Shrinky Bracelet
If you grew up in the 80's, like I did, you're probably already familiar with the awesomeness that is Shrinky Dinks...but did you know that you can still buy Shrinky Dinks? Yep, they're still out there - in craft stores, hobby shops, and even on Amazon. But you don't have to buy a Shrinky Dink kit to have all the fun. Just look for #6 plastic containers and you can make your own!


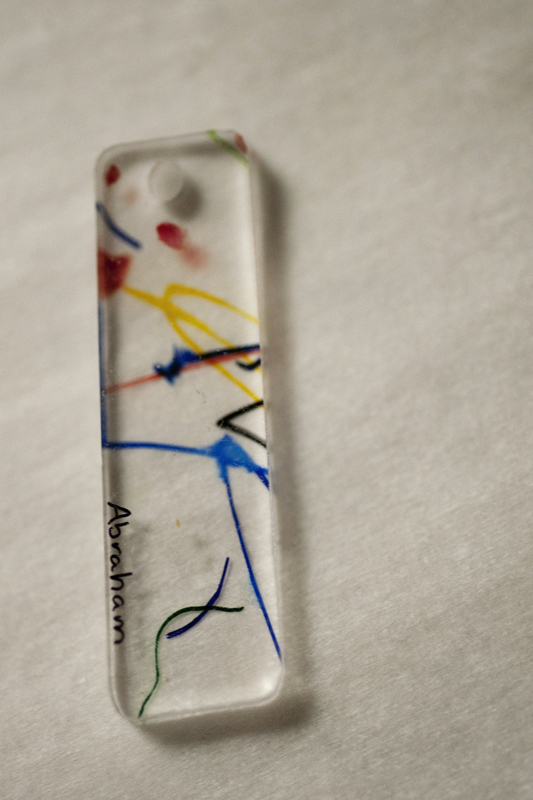
I was also able to make a pendant from a long, skinny piece I had left over after cutting apart the "beads" for the bracelet. Just punch a hole in the top, add a jump ring after baking, and attach to a cord or chain.

There is a great tutorial on Instructables (courtesy of Dabbled) with all the instructions for making your own shrinky projects from #6 plastic containers, so I won't go into too much detail here. Most of this post is actually about turning these awesome little pieces of plastic into a sweet bracelet (and bonus pendant) to give to mom for Mother's Day. (Attention Dads: This project involves permanent markers, melting plastic, and tools...and your kids will think it's totally cool.)

1. Find a #6 plastic container (the one I used was from our grocery store bakery) and wash it in warm soapy water. Make sure to remove any stickers or sticky residue and dry thoroughly.

2. Cut out a flat piece of plastic and draw your design on it using permanent markers. I had Abe scribble on the plastic before cutting it into smaller shapes, but you could cut out the shapes first if your little artist is able to work on such a tiny canvas. Note: Dark colors will appear black after shrinking so use those sparingly!

3. Cut plastic into smaller pieces (mine were 1½ by 1¾ inches before shrinking), and use a standard hole punch to make a hole in each corner.

4. Using scissors or a nail clipper, trim the corners to make rounded edges. You may be able to sand down the edges after baking, but you won't be able to cut them with scissors anymore and they will be sharp!

5. Preheat your oven to 350⁰ F and bake the plastic pieces on a cookie sheet lined with parchment paper for a few minutes. They should begin to curl after about 30 seconds. Just watch them. They'll curl up a couple times and eventually flatten out. Once they're flat they're done shrinking.

6. Remove from oven and let cool. Once the pieces are cool you can coat them with a protective finish if you want. (See Dot's instructions for more information about that.)

7. Attach the beads to each other using 6 mm jump rings (available at most craft stores).

Use a pair of pliers to open the rings. Insert open end into hole on bead, attach to ring on next bead, and clamp shut. I used two links between each bead.

8. Add additional rings if necessary to fit your wrist and attach a lobster clasp for closure.

Surprise mom with a priceless piece of jewelry made by her little artists!
No comments:
Post a Comment